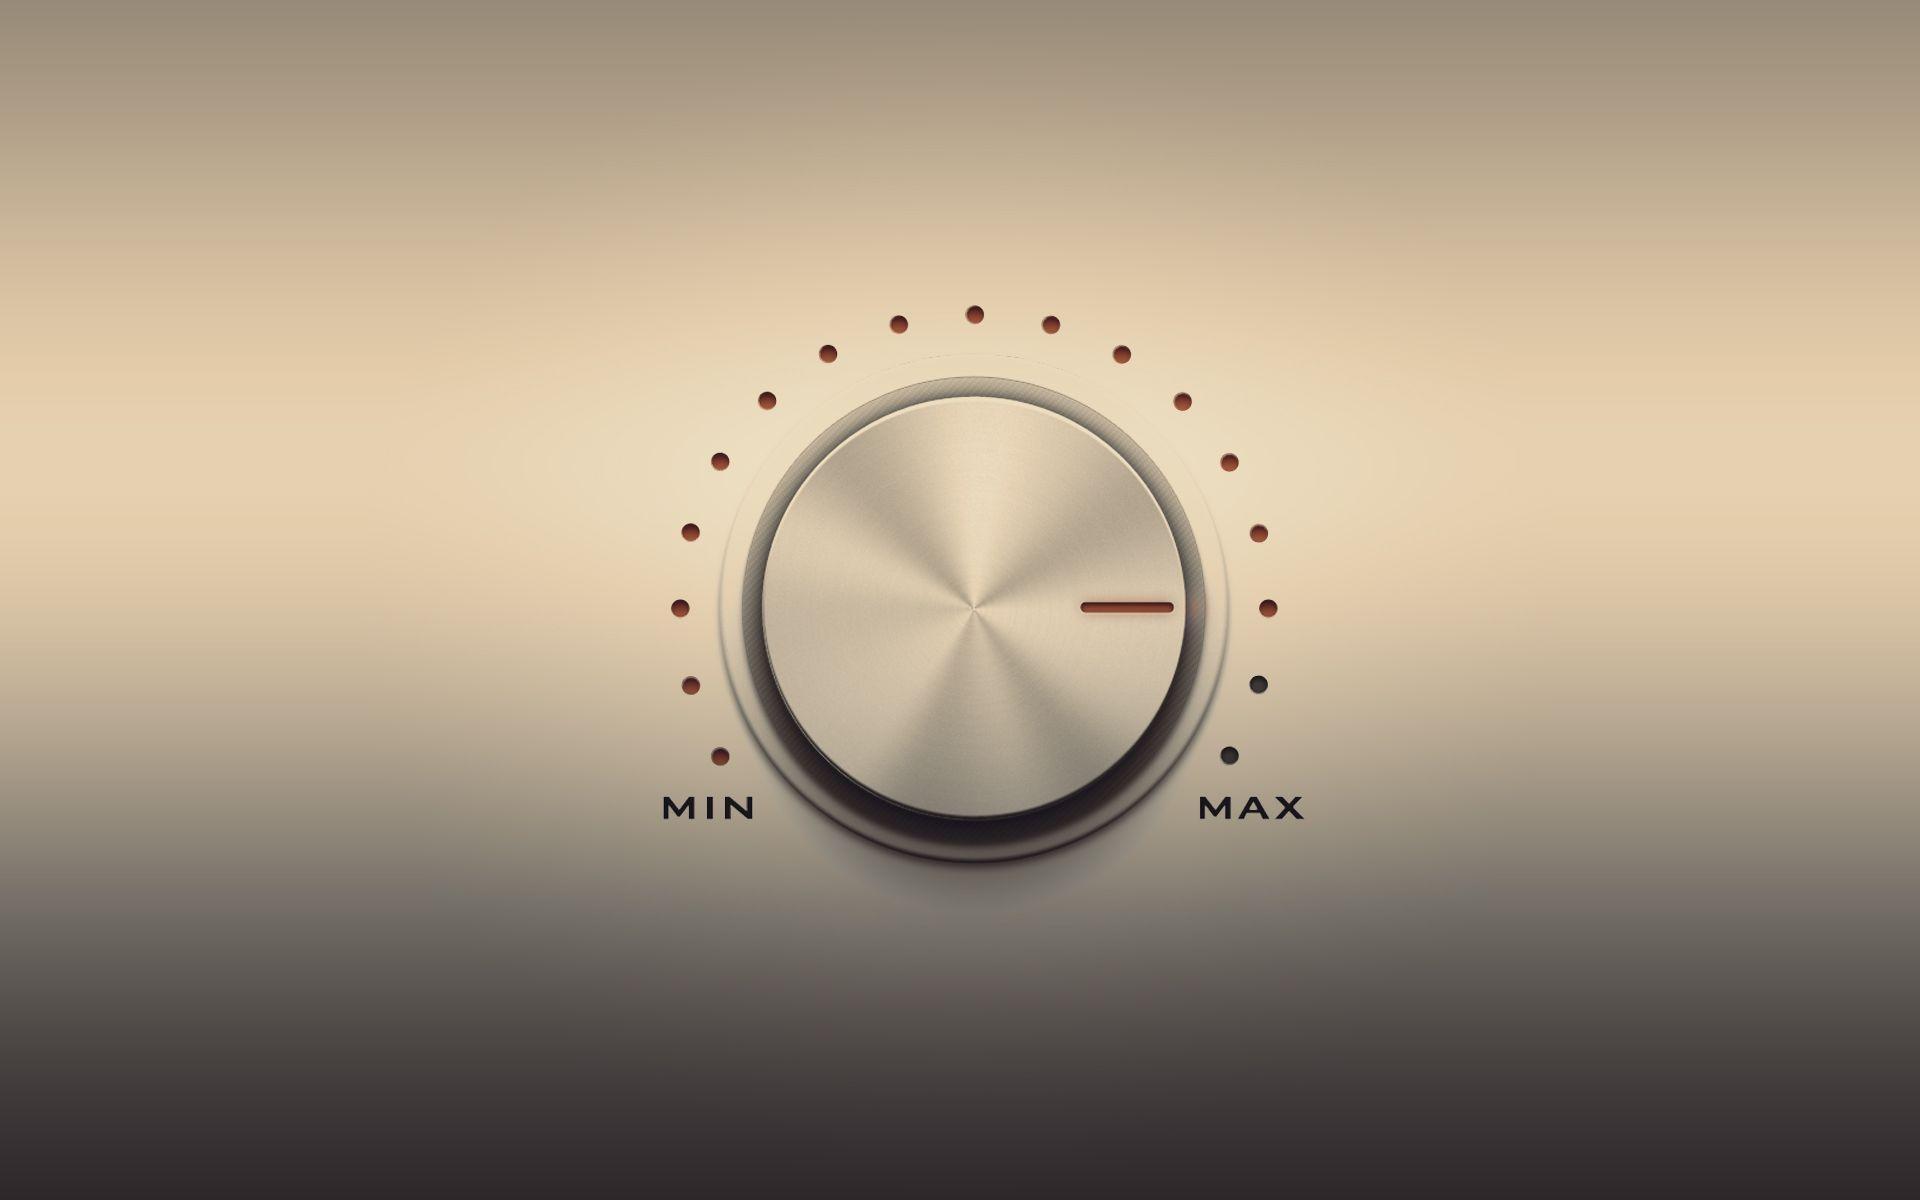
zoug wrote:Can you guys explain me what's going on and how to insert my input2.png always at the same place in the original image, after the rotation?
As
snibgo already mentioned, the volume dial in your background image isn't exactly centered in the canvas. You'll be able to easily rotate and center your overlay image if you adjust the center point of that background image and use "-gravity center" to place your composite.
I'm on Windows 7 64 using ImageMagick 6.9.3-9 Q16 x64, but something like this should work on a *nix system as long as you get the escapes and continued lines correct...
Code: Select all
convert -gravity center -background none \
   /tmp/background.jpg \
   -duplicate 1 -geometry +0-8 -composite \
   -duplicate 1 -geometry -14+0 -composite \
   +repage \
   \( /tmp/input2.png -rotate 100 \) -composite \
   /tmp/result.jpg
That sets the gravity to "center". It also sets the background to "none" which will maintain the transparency of your PNG dial image when you rotate and composite it.
Then it calls in your "background.jpg", makes a single copy of it, shifts that copy up 8 pixels, and composites it on the original.
Next it makes a single copy of that, shifts that copy to the left 14 pixels, and composites it on the previous result.
Those "-duplicate" and "-geometry" and "-composite" operations basically shift the center of the dial in the background to the exact center of the working canvas and, in essence, fill the bottom edge and right edge with matching strips of image.
After that you call in the "input2.png" and rotate it as necessary, all inside the parentheses "()" so you aren't rotating the original background, too.
Since the background has been adjusted to center, and you're using "-gravity center", you simply finish by compositing that rotated volume dial onto the background. Give it an output file name, and you're done.
NOTE: Your dial PNG image is about 1 pixel up and to the right of exact center of the canvas. It's a pretty tiny error, but you could get a bit more precise results if you fix that.


