cleaning digitized film

Questions and postings pertaining to the usage of ImageMagick regardless of the interface. This includes the command-line utilities, as well as the C and C++ APIs. Usage questions are like "How do I use ImageMagick to create drop shadows?".
Post Reply
gheineiii
Posts: 6
Joined: 2015-01-06T07:44:02-07:00
Authentication code: 6789

cleaning digitized film

Post by gheineiii »

Hello -

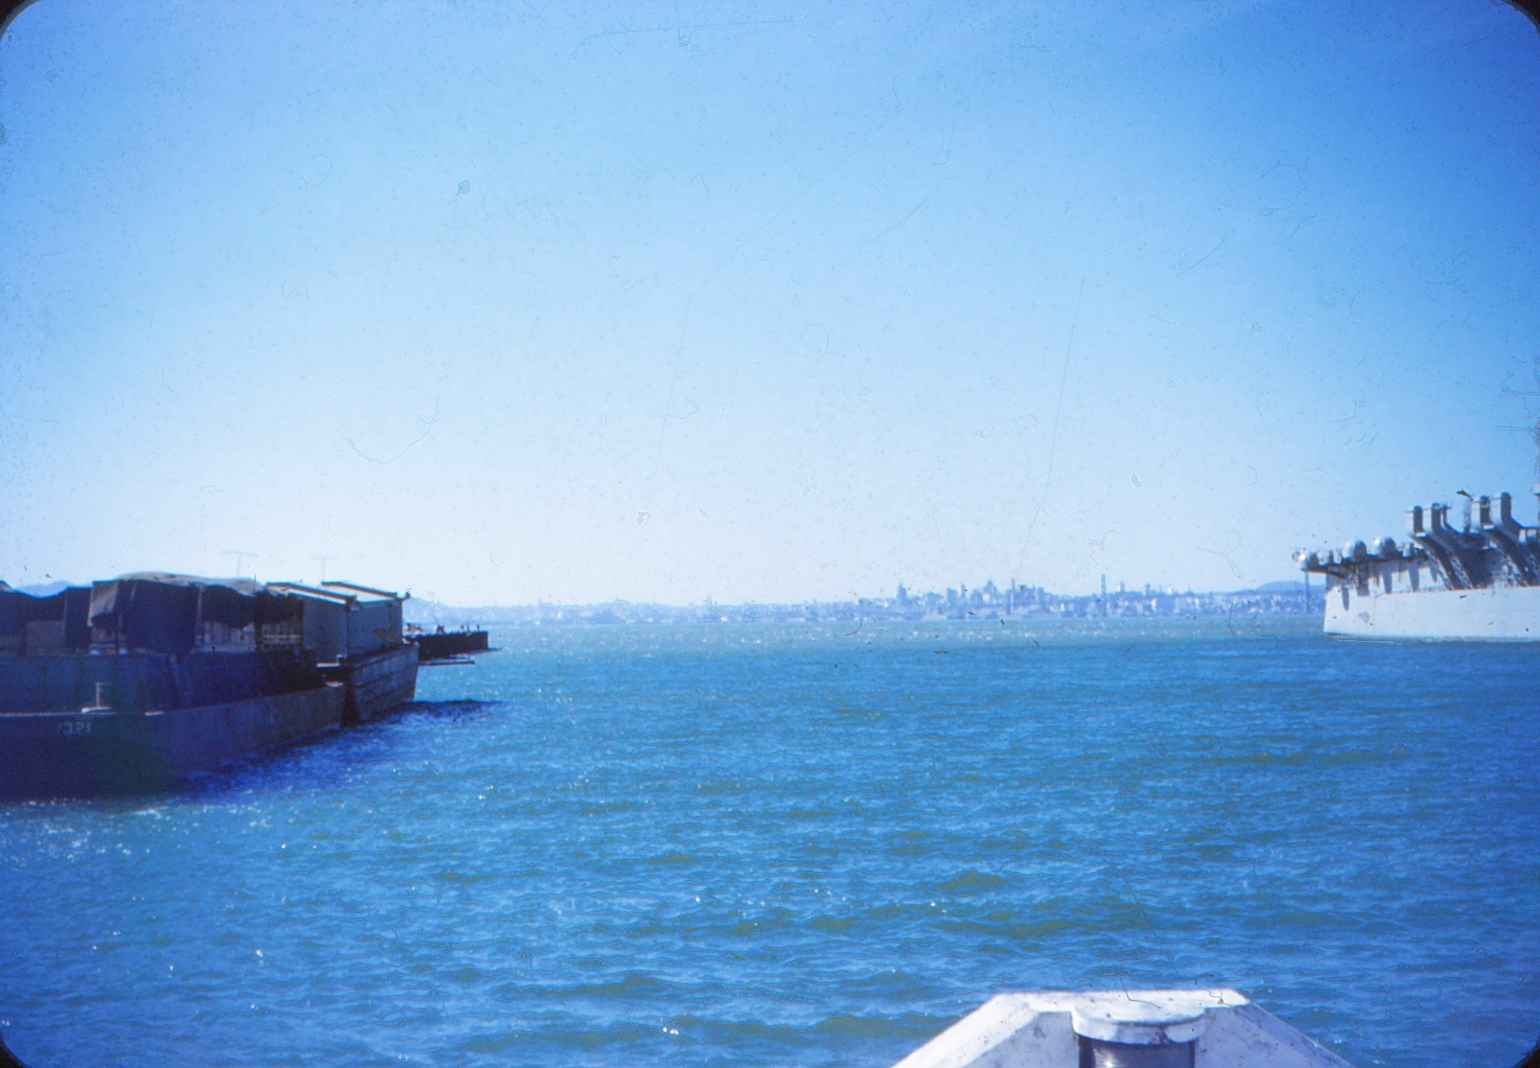
I have a collection of digitized slides, many of which have scratch or dust marks. Example:
Image

Would like to find a way to get the worst of the marks out. Is there a way, for example, to select a rectangle or polygon, and replace pixels in its interrior with some kind of gradient that matches the pixel colors near the boundary, with smooth transitions between ? Or perhaps there is another way that I'm not thinking of ?

Using ImageMagick 6.7.7-10 2017-03-14 Q16, on Ubuntu 14.04 and Mint 18.1

Thanks for any help -
Bonzo
Posts: 2971
Joined: 2006-05-20T08:08:19-07:00
Location: Cambridge, England

Re: cleaning digitized film

Post by Bonzo »

What I have done in the past is blur the original image and save as a copy. Then create a transparent "hole" in the original where I want to remove a spot - with blured edges. Then composite the original over the blured version. But this would take a lot of time unless you could automate the finding of the dust.

Taking more time to clean the slides would have been the best first move. Can you re digitise them?

Alternativly invest in a Photoshop CC subscription for a few months and use the healing brush.
snibgo
Posts: 12159
Joined: 2010-01-23T23:01:33-07:00
Authentication code: 1151
Location: England, UK

Re: cleaning digitized film

Post by snibgo »

It looks as though the slide was projected to a screen, which was then photographed. So there is also a vignetting, a darkening towards the edges and corners.

The dust is truly horrible. Brushing the slides and re-scanning might be easiest.

Manually removing the dust would be painfully slow. However, we can readily paint approximate areas that are not dust.

Image

Then we find dust automatically, and remove it. Windows BAT syntax. First, find the dust:

Code: Select all

set SRC=dirty_slide2.jpg

%IM%convert ^
  %SRC% ^
  ( +clone ^
    -blur 0x5 ^
  ) ^
  -compose MinusDst -composite ^
  -colorspace Gray ^
  -threshold 5%% ^
  dirty_mask.png ^
  -compose Darken -composite ^
  b1.png
b1.png is white where we have dust; otherwise black.

Now we erase the dust pixels (make them transparent):

Code: Select all

%IM%convert ^
  %SRC% ^
  ( b1.png -negate ) ^
  -alpha off ^
  -compose CopyOpacity -composite ^
  b3.png
Now we fill in the transparency, by compositing over a blurred copy:

Code: Select all

%IM%convert ^
  %SRC% -blur 0x10 ^
  b3.png ^
  -composite ^
  b4.png
Other hole-filling methods are available; see my "Filling holes" pages.
Image

(Result converted to JPG for the web.)

The result isn't perfect, but is a big improvement. Parameters can be tweaked.
snibgo's IM pages: im.snibgo.com
gheineiii
Posts: 6
Joined: 2015-01-06T07:44:02-07:00
Authentication code: 6789

Re: cleaning digitized film

Post by gheineiii »

Thanks to both of you for your ideas. Will try, as you both suggested, compositing with a blurred copy, and see how much time it takes. snibgo, is the black-and-white image in your post an example of the b1.png in your code?

The slides were digitized with a CanoScan MarkII. This tool seems to be primarily designed for scanning documents and photos; however, it does come with a slide tray. Will try cleaning the slides when time permits. Of course, the platen on the scanner needs frequent cleaning also.
snibgo
Posts: 12159
Joined: 2010-01-23T23:01:33-07:00
Authentication code: 1151
Location: England, UK

Re: cleaning digitized film

Post by snibgo »

I show the image dirty_mask.png, which is used to help create b1.png. I created dirty_mask.png in Gimp. It is black where I don't want dust removed and white where I do. The mask prevent important photographic detail from the "dust detector" stage.

It took me about one minute to create that image, by hand. A similar image can be created automatically, but that also protects part of the sea, so isn't as effective.

All the "convert" commands can be combined together, of course. They take about 4.5 seconds on my laptop.
snibgo's IM pages: im.snibgo.com
Post Reply