Page 1 of 2
How to Manipulate Patterns with Imagemagick Distort
Posted: 2017-12-21T00:23:55-07:00
by dandan8888
hi!
i want to change Plaid Fashion Fabric pattern on clothes,like dress,t-shirt. looks like Really clothes.
i find ps method Illustrator Tutorial: How to Manipulate Patterns with Envelope Distort (http://fashionclassroom.com/blog/illust ... pe-distort)
and
i find Use The Displace Filter & Displacement Maps To Make It(http://www.photoshopsupport.com/element ... t-map.html)
but i want to command auto it.
so Imagemagick how to do this?
like this

this is model picture
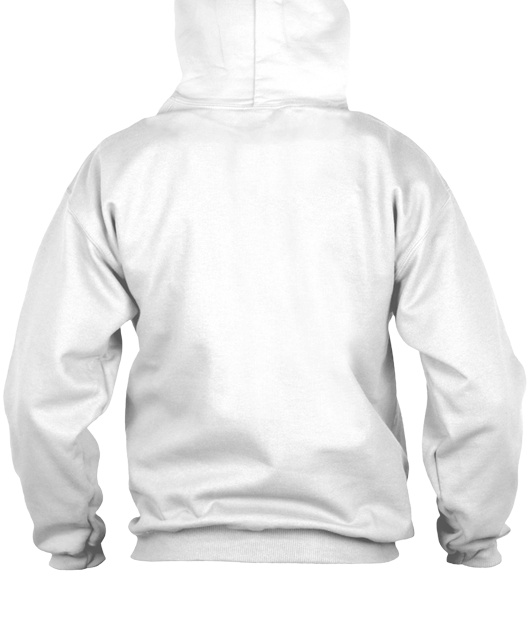
this is fabric pattern

thinks ....
Re: How to Manipulate Patterns with Imagemagick Distort
Posted: 2017-12-21T00:27:15-07:00
by fmw42
See
viewtopic.php?f=1&t=20455 and
viewtopic.php?f=1&t=23348 and
viewtopic.php?f=1&t=16921#p62696 and
viewtopic.php?f=1&t=22890&start=15
But you need to have a mask image or transparency to separate the jacket from the white background.
Re: How to Manipulate Patterns with Imagemagick Distort
Posted: 2017-12-21T00:38:48-07:00
by dandan8888
thank fmw42. i am trying . yes, i have the transparency psd file with model clothes. only question is auto command script apply it ....
Re: How to Manipulate Patterns with Imagemagick Distort
Posted: 2017-12-21T01:49:01-07:00
by fmw42
The basic idea is as follows (unix syntax)
1) extract or make a mask (here I make it from your image, since the coat image did not have transparent background)
2) convert the coat image to grayscale, apply the mask into the alpha channel and then get the average gray level of the opaque pixels
3) compute the amount needed to add or subtract so that the average grayscale is 50% and increased the contrast. This is needed for the hard light composite
4) shrink your texture image and tile it out to the size of the coat image
5) combine the modified grayscale coat image with the tiled texture image and mask using -compose hard light to bring out the detail from the coat image
Code: Select all
convert mens_hoodie_back.png -bordercolor white -border 1 \
    -fuzz 0.2% -fill black -draw "color 0,0 floodfill" -alpha off \
    -fill white +opaque black -blur 0x1 -level 50x100% -shave 1x1 tmp1.png

Code: Select all
color=`convert mens_hoodie_back.png -colorspace gray tmp1.png \
    -alpha off -compose copy_opacity -composite -scale 1x1!  \
    -alpha off -type grayscale -format "%[pixel:u.p{0,0}]" info: | tr -cs "0-9*\n" " "`
diff=`convert xc: -format "%[fx:0.5-($color/255)]" info:`
echo "color=$color; diff=$diff"
color= 71 ; diff=0.221569
Code: Select all
convert mens_hoodie_back.png \( 0344796.jpg -resize 10% +write mpr:tile +delete \) \
     -tile mpr:tile -draw "color 0,0 reset" tmp2.png

Code: Select all
convert tmp2.png \
    \( mens_hoodie_back.png -colorspace gray -evaluate add $diff -sigmoidal-contrast 1x50% \)  \
    -compose hardlight -composite tmp1.png \
    -compose over -alpha off -compose copy_opacity -composite  \
    result.png

Re: How to Manipulate Patterns with Imagemagick Distort
Posted: 2017-12-21T12:09:13-07:00
by fmw42
Here is a better example that includes displacing the pattern.
1 ) flatten the hoodie image, since it has an alpha channel that defines the color not the mask
2 ) use flood fill to make a mask image separating the hoodie from the background area
3 ) put the mask into the alpha channel and get the average grayscale of the opaque region
4 ) get a difference value for making the lighting image and for the displacement image
5 ) resize the pattern and tile it out to the size of the hoodie image
6 ) apply the lighting difference to the clothing image to make the average grayscale at 40% (adjust as desired for brightness)
7 ) apply the displace difference to the clothing image to make the average grayscale at 50%, enhance the contrast and make the background area transparent 50% gray so that it does not get displaced in the background area
8 ) combine the tiled_pattern image with the lighting image using hard light composite then apply the displacement image to distort the pattern on the hoodie.
Code: Select all
convert mens_hoodie_back.png -flatten -colorspace gray clothing.png

Code: Select all
convert clothing.png -bordercolor white -border 1 -fuzz 0.2% -fill black -draw "color 0,0 floodfill" \
-alpha off -fill white +opaque black -blur 0x1 -level 50x100% -shave 1x1 mask.png

Code: Select all
color=`convert clothing.png mask.png -alpha off -compose copy_opacity -composite \
-scale 1x1! -alpha off -type grayscale -format "%[pixel:u.p{0,0}]" info: | tr -cs "0-9*\n" " "`
diffl=`convert xc: -format "%[fx:(40-100*($color/255))]" info:`
diffd=`convert xc: -format "%[fx:(50-100*($color/255))]" info:`
echo "color=$color; diffl=$diffl; diffd=$diffd"
color= 227 ; diffl=-49.0196; diffd=-39.0196
Code: Select all
convert clothing.png  \( 0344796.jpg -resize 10% +write mpr:tile +delete \) \
-tile mpr:tile -draw "color 0,0 reset" tiled_pattern.png

Code: Select all
convert clothing.png -evaluate add $diffl% lighting.png

Code: Select all
convert \( clothing.png -evaluate add $diffd% -sigmoidal-contrast 5x50% \) \
mask.png -alpha off -compose copy_opacity -composite \
-background "gray(50%)" -alpha background displace.png

Code: Select all
convert tiled_pattern.png lighting.png -compose hardlight -composite \
displace.png -define compose:args=5x5 -compose displace -composite new_result.png

Re: How to Manipulate Patterns with Imagemagick Distort
Posted: 2017-12-21T13:02:23-07:00
by Bonzo
The second method is nicer fmw42 but I think the pattern is too bold and does not really show the full detail!
I would also think the band on the waist would not have the pattern; that area as well as the cuffs is usually elasticated. But that would be possible to do by the OP modifying the mask in those areas.
Re: How to Manipulate Patterns with Imagemagick Distort
Posted: 2017-12-21T15:13:30-07:00
by fmw42
Bonzo wrote: 2017-12-21T13:02:23-07:00
The second method is nicer fmw42 but I think the pattern is too bold and does not really show the full detail!
I what way is it too bold. Can you give me more details. Is it too much distortion? Or too dark an image? What specifically?
Bonzo wrote: 2017-12-21T13:02:23-07:00I would also think the band on the waist would not have the pattern; that area as well as the cuffs is usually elasticated. But that would be possible to do by the OP modifying the mask in those areas.
That is correct. But it would require manual adjustment. Or better to have remade masks images for different parts of the clothing so that the texture pattern could be rotated suitably?
Re: How to Manipulate Patterns with Imagemagick Distort
Posted: 2017-12-22T00:46:30-07:00
by Bonzo
I what way is it too bold. Can you give me more details. Is it too much distortion? Or too dark an image? What specifically?
Not a problem with your example but the pattern is so strong you can not see the wrinkles etc. in the final image very well. I know that is the pattern the OP wanted but a slightly lighter pattern will show off the wrinkles better?
Re: How to Manipulate Patterns with Imagemagick Distort
Posted: 2017-12-22T10:01:45-07:00
by fmw42
Bonzo: Yes that is true. Changing the desired diffl value of 40 to a higher value would increase the brightness of the pattern but also the shadows. I originally had it at 50, but that did not look good. So I lowered it to 40 to keep the pattern image mostly the same brightness as it had.
Re: How to Manipulate Patterns with Imagemagick Distort
Posted: 2017-12-25T22:05:50-07:00
by dandan8888
and
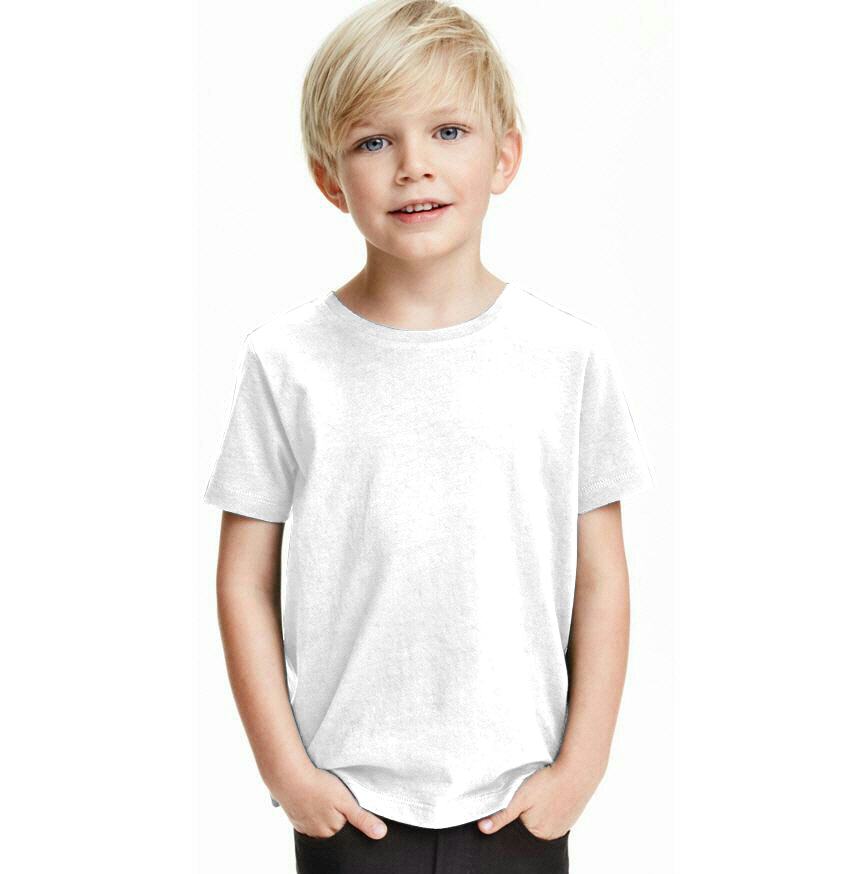
How do I cut the picture, then put on the clothes, sleeves, respectively, cloth, and then through the command combination back to a complete picture.
imagemagick command I'm not familiar yet
thanks...
Re: How to Manipulate Patterns with Imagemagick Distort
Posted: 2017-12-25T23:56:06-07:00
by fmw42
You will need to make a mask of the t-shirt as a binary image. Then process as in the earlier example. Then use the mask to composite the new t-shirt onto the original image.
Re: How to Manipulate Patterns with Imagemagick Distort
Posted: 2017-12-26T02:43:30-07:00
by dandan8888
thanks...i am trying....
Re: How to Manipulate Patterns with Imagemagick Distort
Posted: 2017-12-26T04:58:08-07:00
by dandan8888
hi,thanks fmw42.
i process as in the earlier example.
1. this is origin image child.png

2. then Split to mook.png with PS
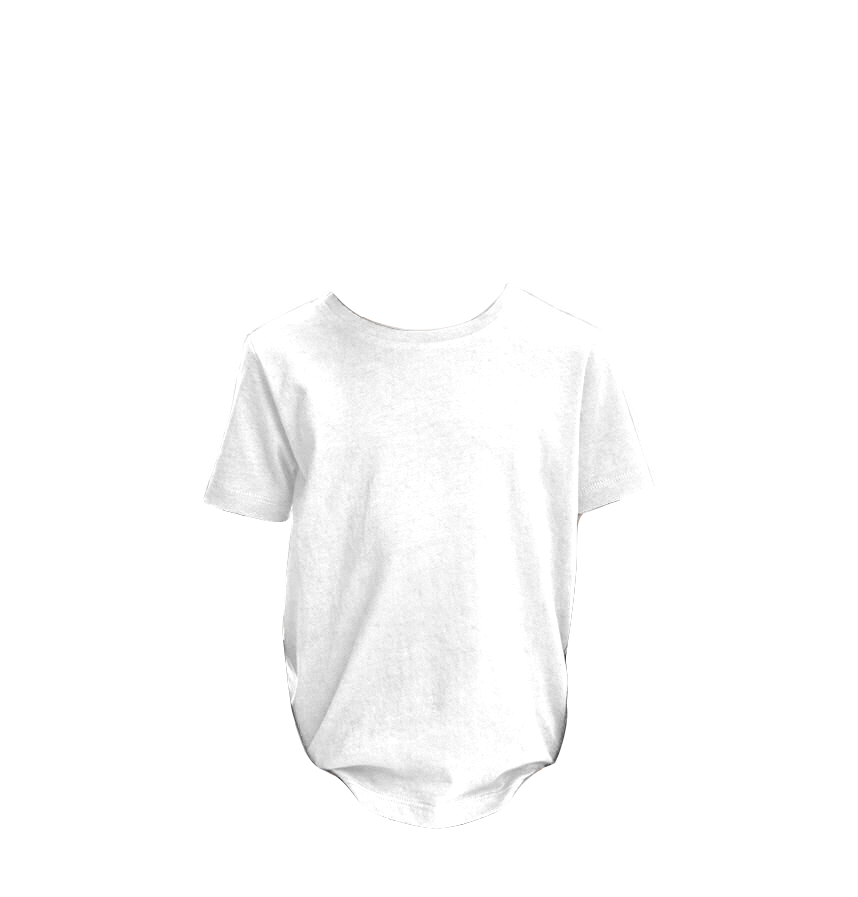
3. then extract mask.png with PS
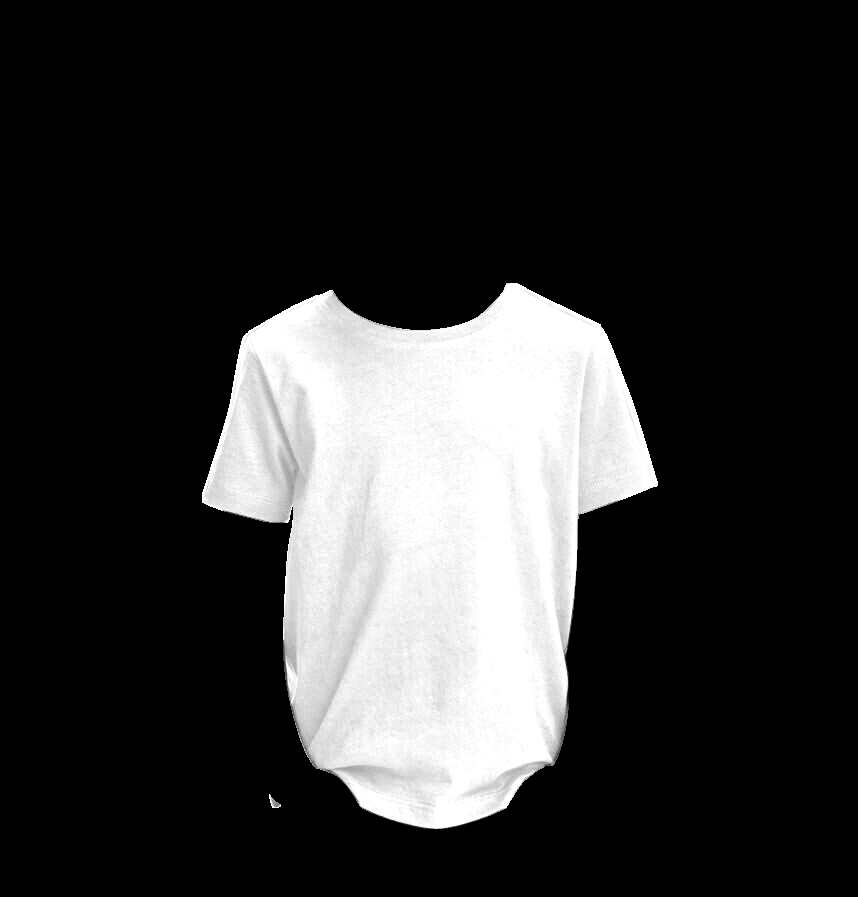
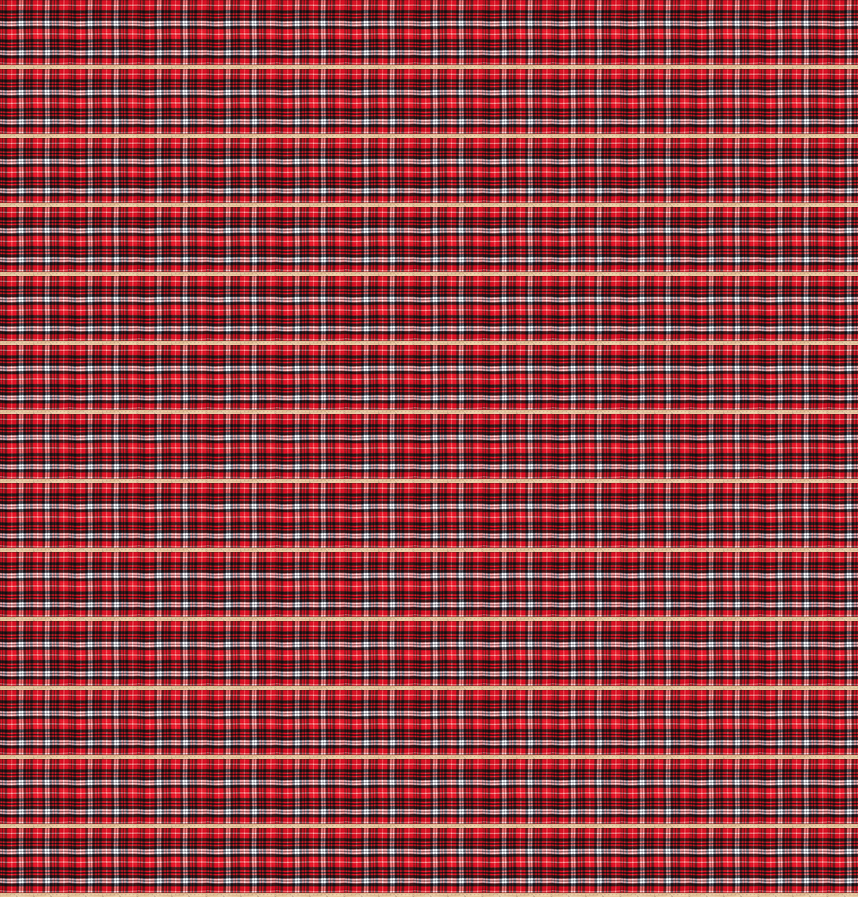
4. then get tiled_pattern.png
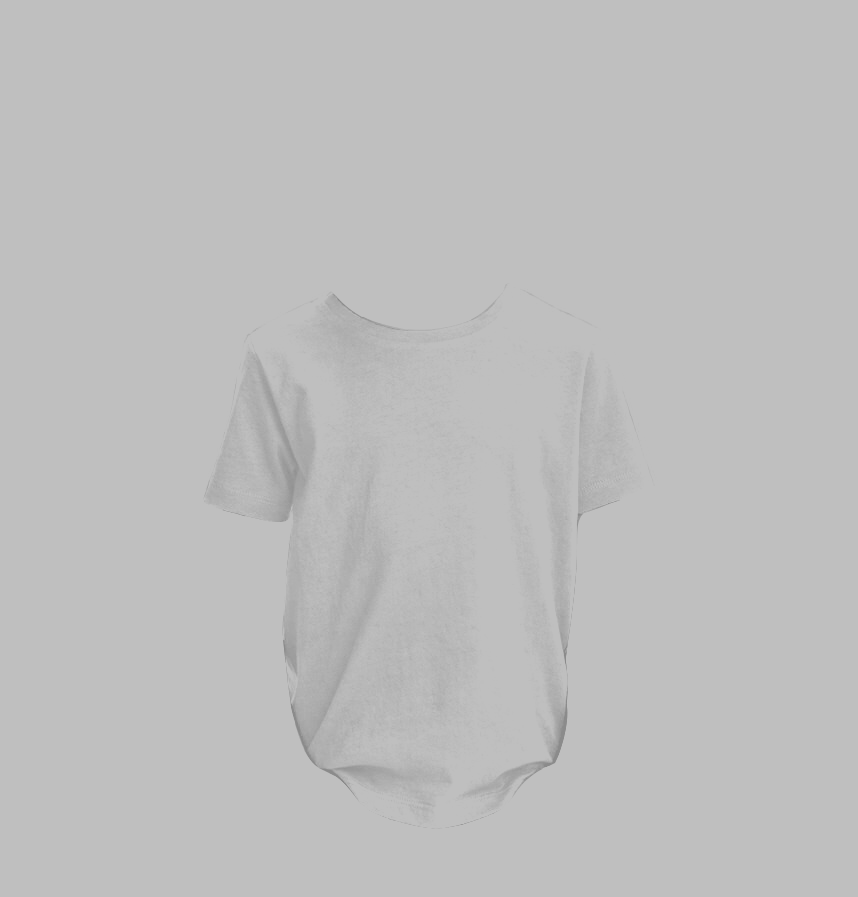
5.then get lighting.png
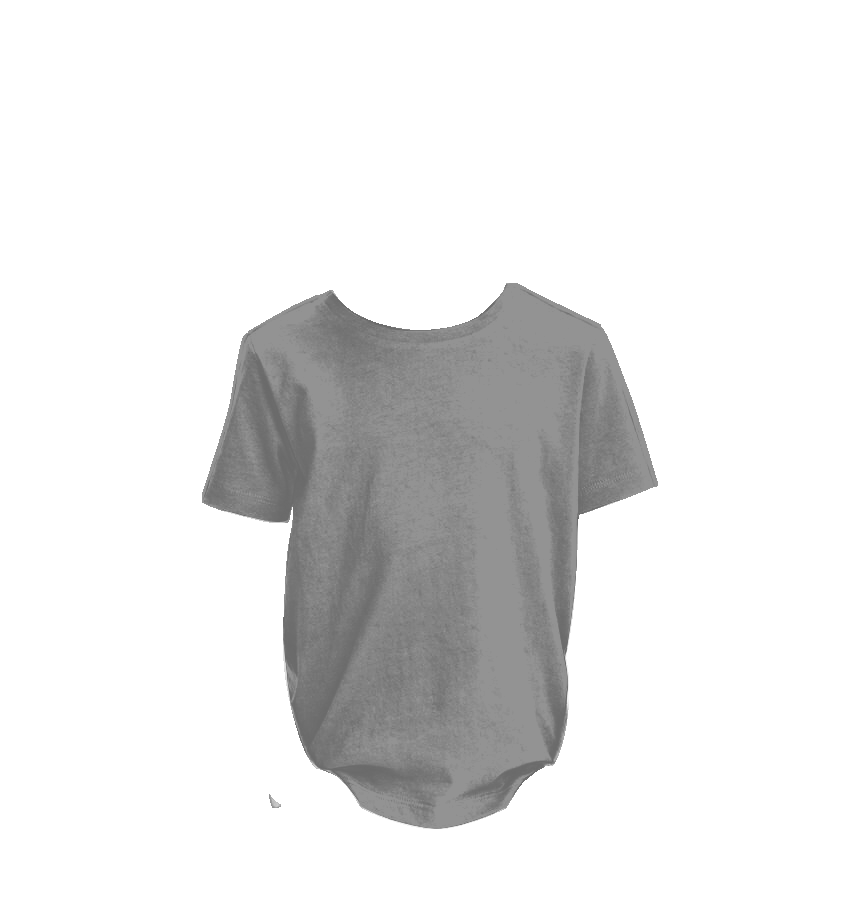
6. then get displace.png
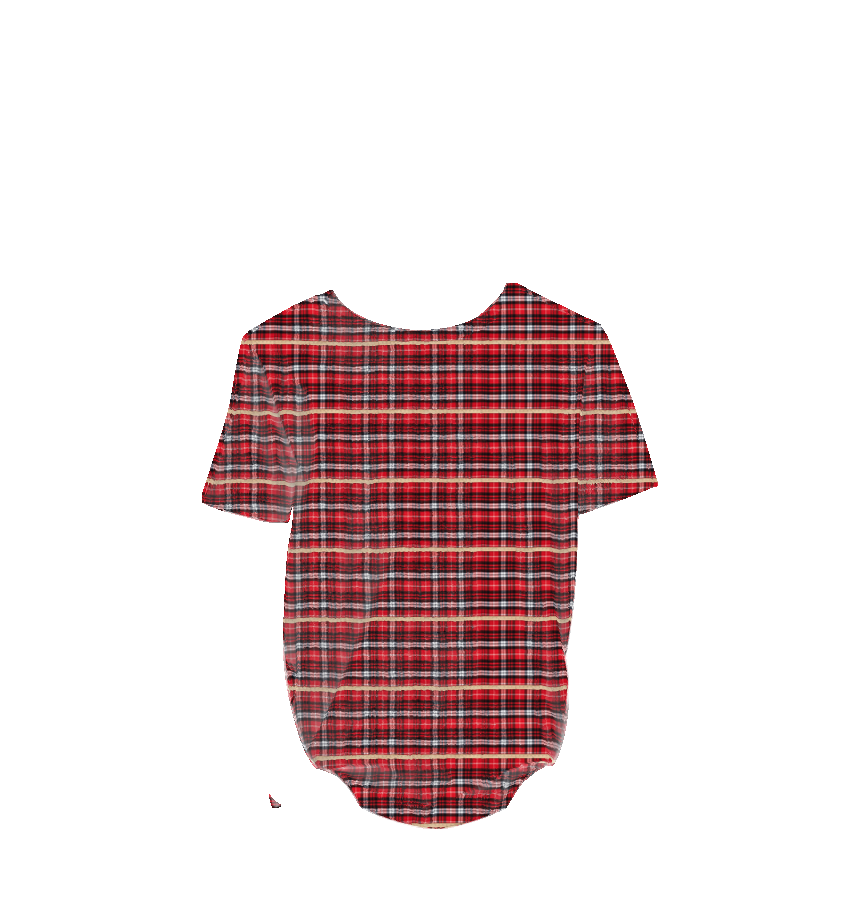
7.then composite new_result.png
8.last composite to origin temp_result.png
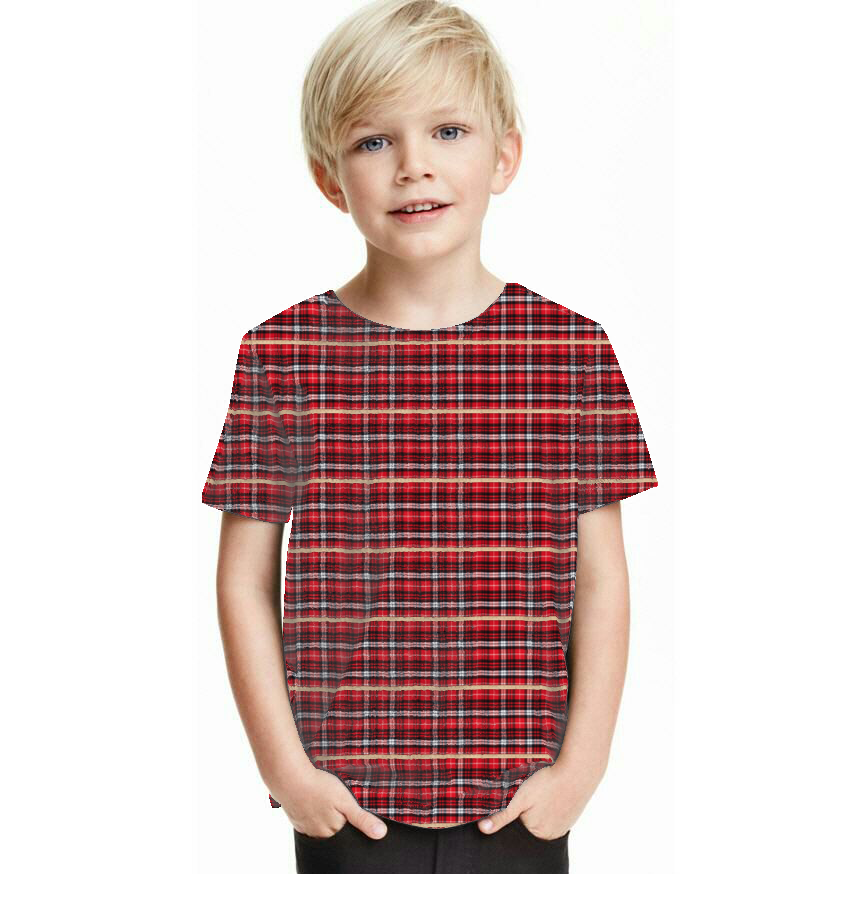
Feeling still some interference, the image is not clear enough, there are noise
Where is the problem?
If I want to adjust the pattern of stripes position and zoom how to use the command
so when i got child.png.
and in ps to process to mask.png lighting.pnd displace.png
and then command to scaling pattern image and the pattern image pos x and pos y.
will be better?
Re: How to Manipulate Patterns with Imagemagick Distort
Posted: 2017-12-26T11:28:14-07:00
by fmw42
Your lighting image is too bright and perhaps not enough contrast. It needs to be near 50% gray. Lower the value from 50% or 40%, whichever you used to avoid the washed out areas.
To change the pattern, you can adjust the resize factor. To shift the pattern, you can add -roll +X+Y after tiling it.
Re: How to Manipulate Patterns with Imagemagick Distort
Posted: 2017-12-27T18:52:58-07:00
by dandan8888
thanks fmw42.... i have a other question.
Bending clothes arm, skirt skirt and so on. May be irregular graphics. How to better make random patterns to match naturally. Similar to dyed fabric.
i follow the
viewtopic.php?f=1&t=23348 .
But other irregular images may not be symmetrical. I do not know what I described clearly.


